Quickstart
GeoLens deploys with one Docker Compose command. This guide takes you from a fresh checkout to a running UI in about 10 minutes.
Prerequisites
Section titled “Prerequisites”- Docker Engine 24+ and Docker Compose v2 — verify with
docker compose --version - Three free host ports (default: 8080, 8001, 5434)
1. Clone and run the installer
Section titled “1. Clone and run the installer”git clone https://github.com/geolens-io/geolens.gitcd geolensbash scripts/install.shbash scripts/install.sh copies .env.example to .env, generates a strong
JWT_SECRET_KEY (via openssl rand -hex 32) and POSTGRES_PASSWORD, prompts
for an admin username (default admin) and password — pressing Enter at the
password prompt generates a strong random password rather than reusing a
default — and runs docker compose up -d. Retrieve a generated admin password
with grep '^GEOLENS_ADMIN_PASSWORD=' .env. Release-tag installs pull
prebuilt images and come up in a couple of minutes; branch or dev installs
build from source and take longer. Either way, scripts/install.sh blocks
until every service reports healthy, then prints “GeoLens is ready.” so
you never have to guess when the stack is up. Re-running the script is
idempotent — existing .env values are preserved.
For the full list of configuration options, see Configuration.
2. Verify services
Section titled “2. Verify services”docker compose psConfirm db, api, worker, titiler, and frontend show as running /
healthy before logging in.
3. First login
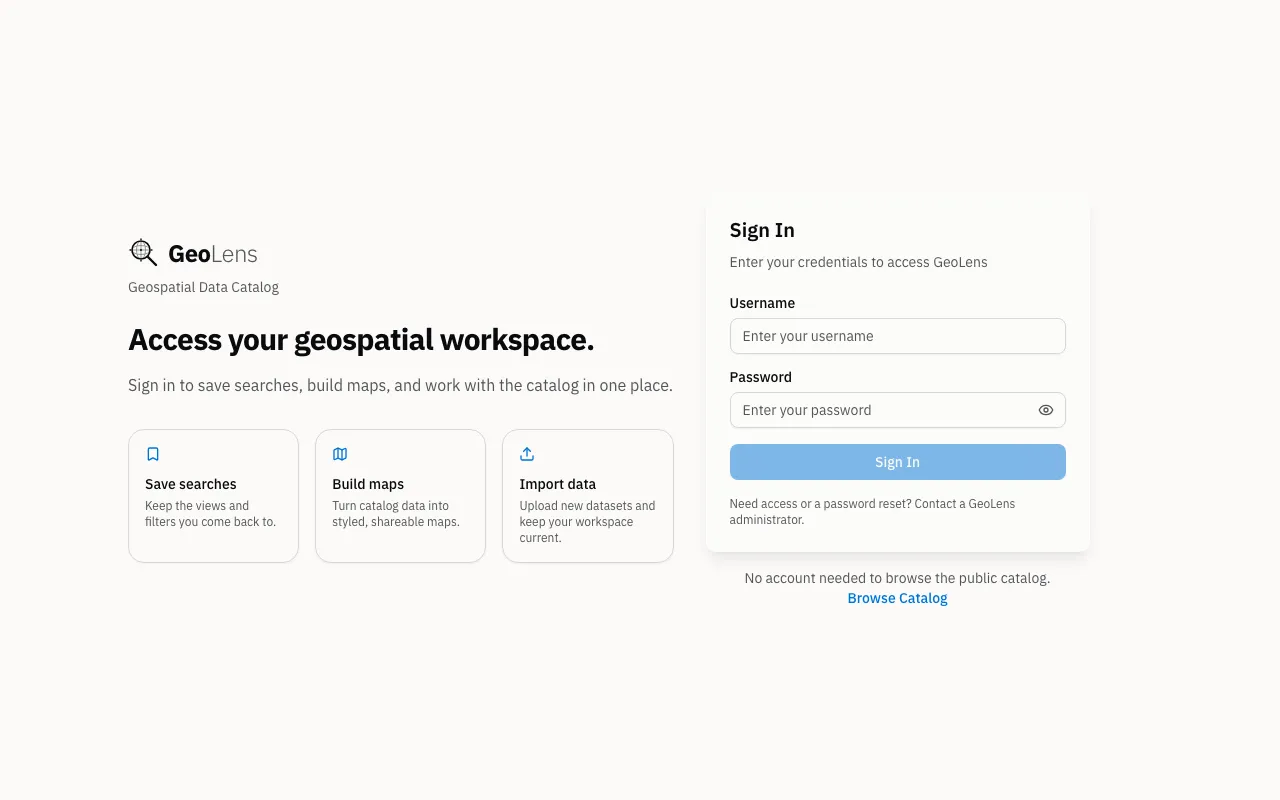
Section titled “3. First login”Open http://localhost:8080. Log in with the admin username (default admin)
and the password you chose during install — or, if the installer generated one,
retrieve it with grep '^GEOLENS_ADMIN_PASSWORD=' .env.
After logging in, follow the admin password rotation guide to rotate or replace the bootstrap admin account.
The login page proves you’ve reached the frontend at http://localhost:8080.
Look for the centered username/password card with the GeoLens reticle logo at
the top. After login, a fresh local install shows an empty catalog — that is
expected. Use the seeder scripts in the next section to populate it.
4. Seed sample data
Section titled “4. Seed sample data”After login, your catalog is empty. The fastest way to populate it is the
bundled scripts/seed-showcase.py script, which builds three capability-showcase
maps from public, openly-licensed data by writing into a running GeoLens instance
via its API — no separate stack, no separate compose file.
| Showcase map | What it demonstrates | Source |
|---|---|---|
| Manhattan Skyline | 3D fill-extrusion by real building height with graduated color | NYC Open Data Building Footprints |
| New York Income | data-driven quantile choropleth across all 62 NY counties | USDA ERS Atlas of Rural & Small-Town America |
| The Matterhorn | 3D terrain mesh + hillshade from a VRT mosaic of COG tiles (--with-terrain) | swisstopo swissALTI3D 2m lidar |
Seeder prerequisites
Section titled “Seeder prerequisites”The seeder is a Python script that talks to the running GeoLens via its API. You’ll need:
- Python 3.10 or newer on your host machine (check with
python --version) httpx— install withpip install httpx
The seeder runs on your host, not inside the docker network. It targets
http://localhost:8080 by default; pass --base-url <url> to point at a
different deployment.
Run the showcase seeder
Section titled “Run the showcase seeder”pip install httpxpython scripts/seed-showcase.py --username admin --password "$GEOLENS_ADMIN_PASSWORD"The script authenticates with your admin username (default admin) and password
— pass the password you set or that the installer generated via --password
(or set GEOLENS_ADMIN_PASSWORD in your environment). It then builds the
Manhattan and New York Income maps. Add --with-terrain to also build the
Matterhorn 3D terrain hero (this downloads ~9 COG tiles):
python scripts/seed-showcase.py --with-terrain --username admin --password "$GEOLENS_ADMIN_PASSWORD"Use --only manhattan, --only income, or --only matterhorn to build just one
showcase map.
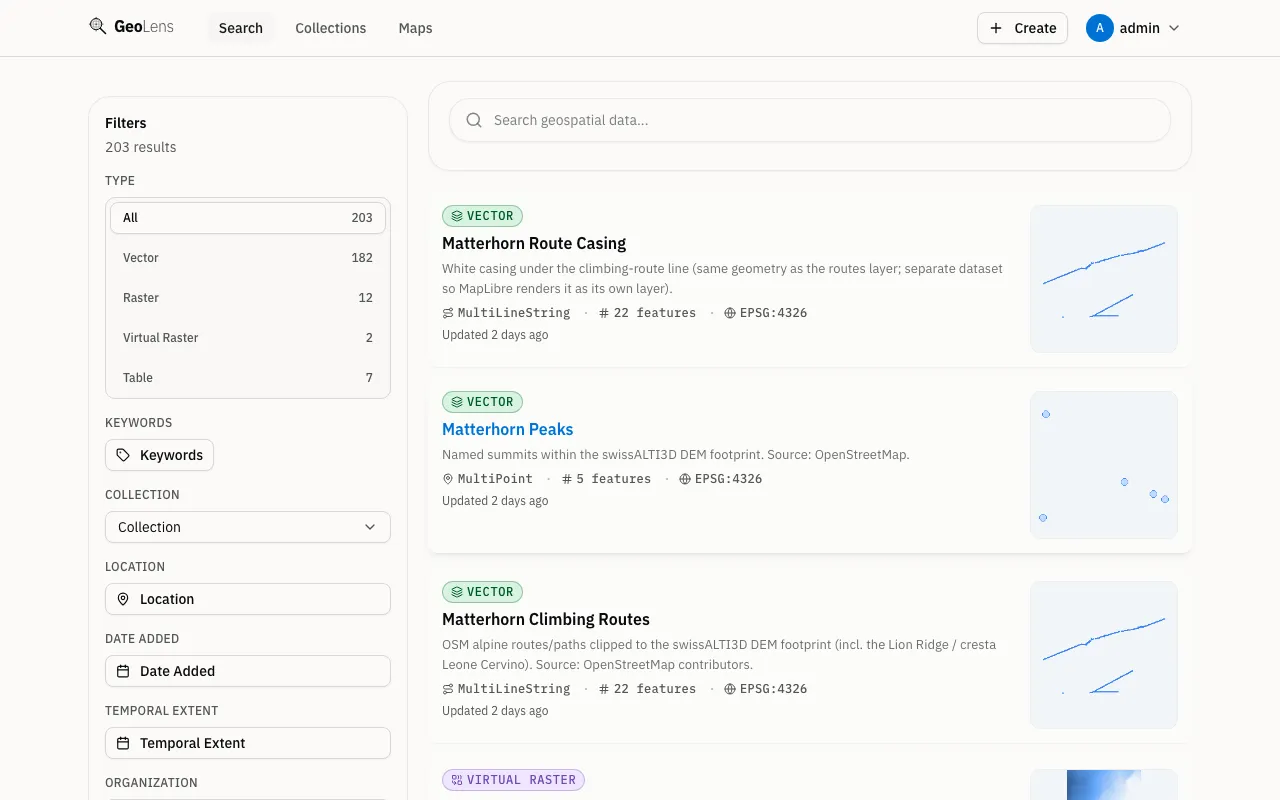
Once the seeder finishes, reload http://localhost:8080 — the catalog is now
populated and searchable, with type, keyword, and spatial filters down the
left rail. The showcase maps include the Matterhorn layers built by
--with-terrain — climbing routes, peaks, and the swissALTI3D virtual raster:
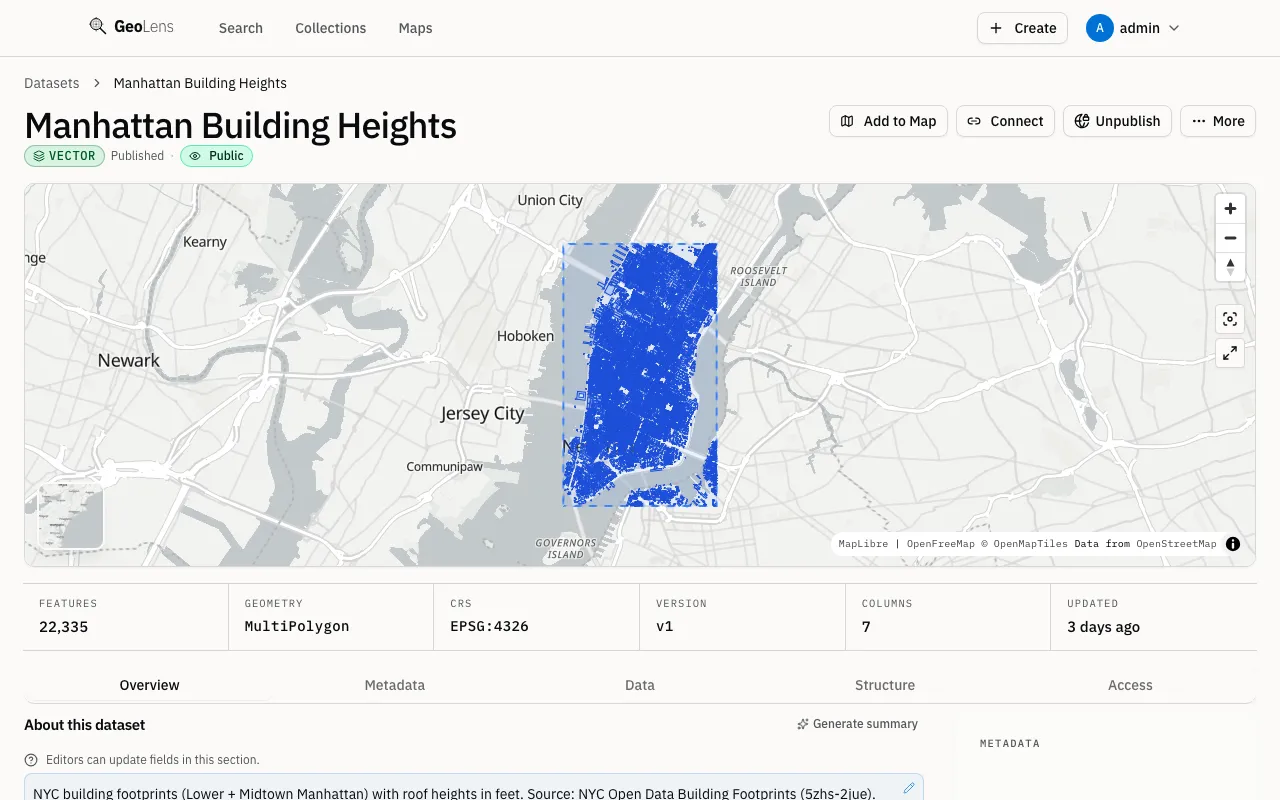
Select any dataset card to open its detail page — metadata, schema, and a live map preview of the data’s extent. Here is the Manhattan Building Heights dataset from the Manhattan Skyline showcase map:
Service topology
Section titled “Service topology”The default docker compose up -d brings up five services. The diagram below
shows how they connect; profile-gated services (backup, MinIO, Valkey) appear
only when you opt into them via --profile <name>.
Next steps
Section titled “Next steps”- Going to production? See the Install Guide for full prerequisites, Docker Compose profiles, and troubleshooting.
- Configuring users and roles? See the Admin Guide for RBAC, OAuth/OIDC, and backup automation.
- Building integrations? See the API Reference for OGC
endpoints, authentication, and
curlexamples.